
You’ll want to position your camera at eye level using books or a stand, ensuring your eyes sit in the top third of the frame about 20–30 inches from the screen for natural eye contact. Frame your shot to show your head, shoulders, and upper torso while choosing a clean, uncluttered background that separates clearly from you. Light your face from the front with even illumination, avoiding harsh shadows and glare. Record a 30-second test video to check framing, audio clarity, and connection stability, then log on 10 minutes early to verify everything one final time. Following these steps sets you up well, but there’s more to consider for a truly polished impression.
TLDR
- Position your camera at eye level using books or a stand to simulate natural eye contact.
- Test framing to show your head, shoulders, and upper torso with eyes in the top third.
- Log on ten minutes early to verify camera angle, microphone function, and connection stability.
- Record a thirty-second test clip on your actual platform to confirm framing and audio quality.
- Enable your camera’s rule-of-thirds grid to balance headroom and avoid appearing floating or crammed.
Test Your Internet Speed: 10 Mbps Minimum for HD Video
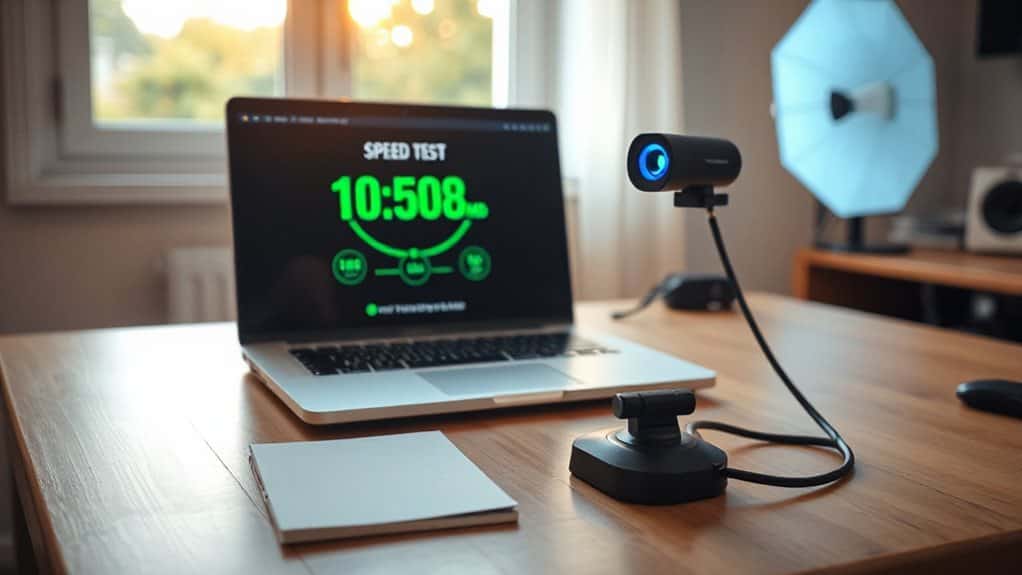
Why does your video keep freezing during important calls? You’re likely falling short of the 10 Mbps minimum that HD video demands. Before your next interview, head to speedtest.net and measure your connection during peak hours, since that’s when you’ll actually need it. Remember, your upload speed matters just as much as download when you’re presenting your best self to others. For live interviews specifically, 6 Mbps download is the absolute minimum to maintain audio quality, video stability, and connection reliability. Consider also testing your connection alongside a quick camera and microphone check to ensure professional presentation.
Position Your Camera at Eye Level for Natural Contact
Where exactly should you place your camera so interviewers actually connect with you instead of staring at your forehead or chin? Stack books under your laptop or use a stand to raise your webcam until your eyes sit in the top third of the frame, about 20-30 inches away. This positioning simulates natural eye contact, builds rapport, and shows you’re attentive and confident. Employers often look for signs of professionalism and communication skills, so positioning your camera correctly can positively influence interviewer perception.
Frame Your Shot With Head One-Third Down, Shoulders Visible

Once you’ve got your camera at eye level, you’ll want to frame yourself so you’re not floating awkwardly in space or crammed into a corner of the screen. Enable your camera’s rule-of-thirds grid, then position your eyes along that top horizontal line with your head sitting one-third down from the top. This gives you proper headroom, doesn’t it?
Keep your shoulders fully visible in the lower portion of the frame, and angle yourself slightly so you’re not flat against the background. Are you leaving open space in front of where you’re looking? This creates balance and helps your audience feel connected to you. Make sure you also have written permission from any on-screen participants to share their likeness and details, reflecting privacy law obligations.
Light Your Face From the Front, Judging Through Viewfinder
With your shot framed and balanced, you’re ready to tackle what often makes or breaks video quality: lighting your face properly. Position your key light 45 degrees to one side and above eye level, then add a softer fill light on the opposite side to gently lift shadows. Are you seeing even illumination without harsh shadows or glare in your viewfinder? Adjust height and angle until your face looks natural and welcoming, checking that your background separates cleanly from your shoulders. Does your reflection show professional warmth that puts interviewees at ease? Demonstrate self-awareness by noting any lighting mistakes and the steps you took to fix them, such as reducing glare or repositioning lights to avoid harsh shadows.
Test Your Microphone for Clear Audio, No Echo
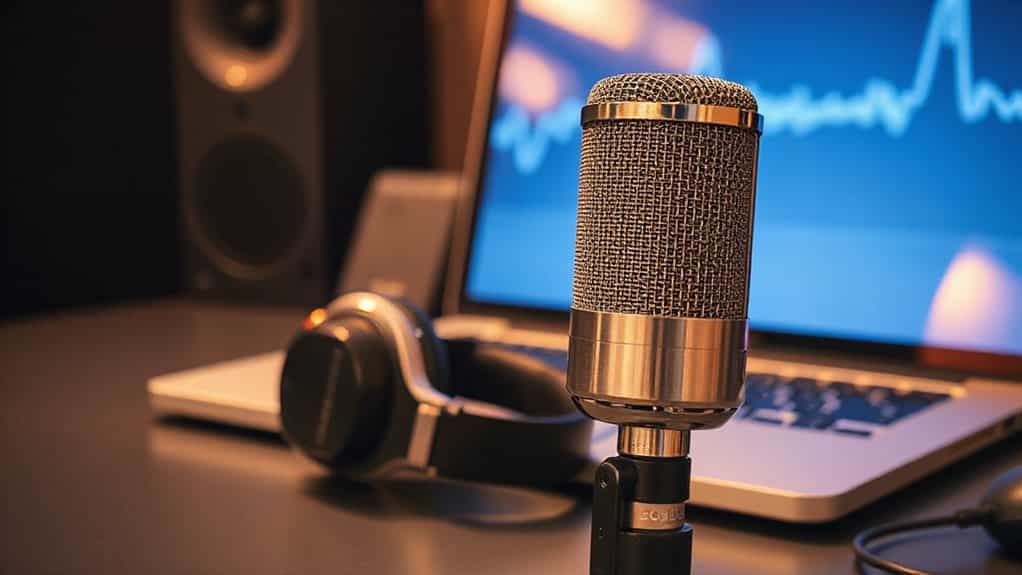
Before your interview begins, you’ll want to confirm your microphone captures your voice clearly without any distracting echo or background interference, since poor audio can derail your chances just as quickly as a blurry video. Start by recording yourself speaking at a normal conversational volume in your chosen interview space, then listen back carefully for any muffling, static, or hollow sounds that suggest echo. Have you checked whether closing nearby windows, turning off fans, or adding soft furnishings might eliminate those subtle audio issues you didn’t notice at first? Also consider keeping your audio file size under 5 MB and using PDF or Microsoft Word when saving documents related to your application.
Check Audio Clarity
Why risk losing your interviewer to garbled audio when a quick microphone test could save the entire conversation? Record a 30-second clip and listen carefully—do your words sound crisp, or do they feel muffled and distant? Check your waveform display for steady voice representation, adjust your mic position if needed, and confirm natural playback through tools like OnlineMicTest before your interview begins.
Eliminate Echo Issues
Clear audio means nothing if your own voice bounces back at you like you’re shouting into a canyon, so let’s tackle echo before it derails your interview.
First, slip on headphones with a built-in microphone, since they deliver sound straight to your ears and stop feedback loops cold.
You’ll also want to mute yourself when you’re not speaking, and don’t forget to lower your speaker volume and dial back that microphone sensitivity.
Position your mic away from speakers, get close to it, and point it away from walls.
Finally, soften your space with carpets, curtains, or even thrift store blankets to absorb those pesky reflections.
Record a 30-Second Test Video and Play It Back
Record a 30-second test clip where you’re speaking naturally, as if you’re already in the interview, so you can catch any issues before they matter. When you play it back, you’ll want to check that your face stays sharp and well-lit throughout, and that your voice comes through clearly without any crackling or background hum. Does the framing keep you centered with good headroom, and can you hear yourself without straining—if anything looks or sounds off, now’s your chance to fix it.
Check Visual Clarity
How exactly will you know if your camera setup is working properly before the real interview begins? Play back your test recording on the actual platform you’ll use, checking that your face appears clear and well-lit without harsh shadows or washed-out tones. Verify your background looks professional, confidential items stay hidden, and there’s pleasing space above your head and in the direction you’re looking.
Assess Audio Quality
Once you’ve confirmed your video looks sharp and professional, you’ll want to make sure your voice comes through just as polished, since poor audio can derail an interview faster than almost anything else. Record a 30-second test clip speaking at varied volumes, position your microphone at a 45-degree angle above your chin, and play it back through headphones to check for distortion, background noise, or inconsistent levels before your interview.
Clean Your Lens, Close Apps, and Update Software Early
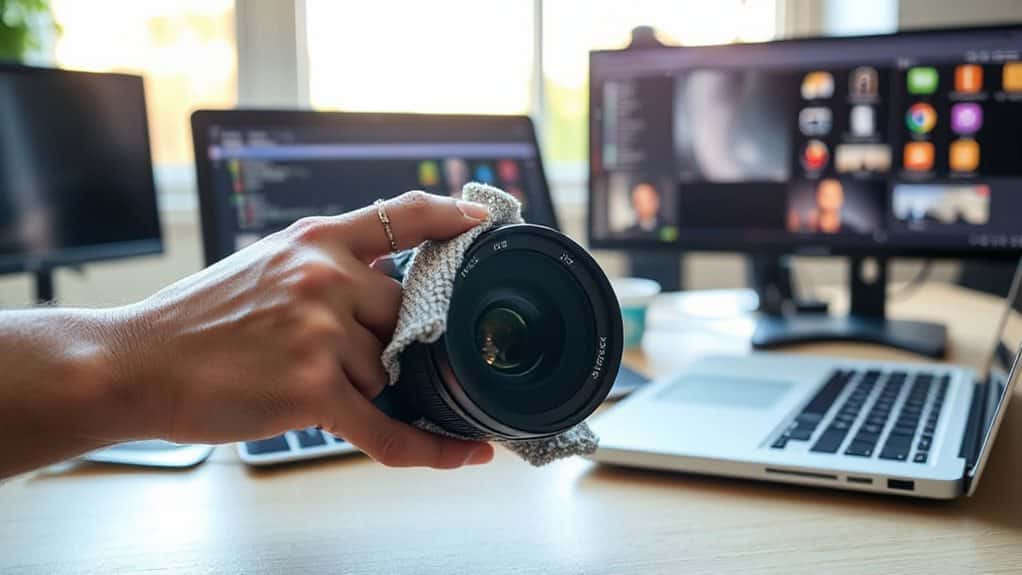
Every single detail matters when you’re preparing for a video interview, and your technical setup can make or break that essential first impression. Start by gently blowing dust off your lens with a blower bulb, then wipe with a microfiber cloth sprayed with cleaning solution, moving from center outward in circles.
Close unnecessary applications to free up memory and bandwidth, ensuring your camera and microphone receive priority resources.
Update your software, drivers, and operating system at least 24 hours early, so you can troubleshoot any issues without pressure.
Choose a Solid Background, Avoid Busy Patterns
You’ve handled the technical groundwork, so now it’s time to think about what your interviewer will actually see behind you, and that choice matters more than you might expect. Your background speaks before you do, revealing your organization level within seconds. Choose a solid, neutral backdrop—plain walls, tidy shelves, or a simple virtual screen—so your skills take center stage. Skip busy patterns, NFL posters, or cluttered spaces that pull focus from your message. Contrast your clothing gently with your setting, and test your framing to show head, shoulders, and upper torso cleanly.
Log On 10 Minutes Early for Final Tech Check
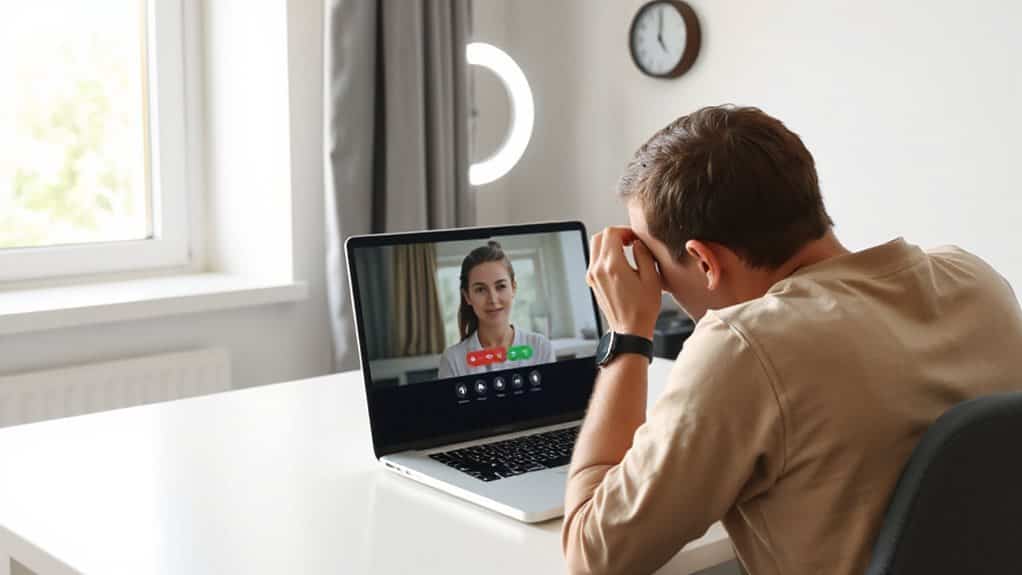
Arriving ten minutes early isn’t just about punctuality—it’s your safety net against the unexpected, and it gives you the breathing room to catch problems before they derail your interview. You’ll verify your camera angle, test your microphone, and confirm your connection’s stability. This buffer lets you address glitches calmly, ensuring you’re fully present for the person waiting to meet you.
And Finally
You’ve got everything you need to nail this video interview, so take a deep breath and trust your preparation. When you test your tech early, adjust your lighting, and position yourself with confidence, you’re showing employers you mean business. Isn’t that the impression you want to make? Now, close those extra apps, smile into that clean lens, and remember: you’ve done the work, and you’re ready to shine. Go get that opportunity.